 |
 |
| 1.5 | 2.5 |
 |
 |
 |
| 0.5 | 1.0 | 2.0 |
 |
 |
| 0.1 | 1.75 |
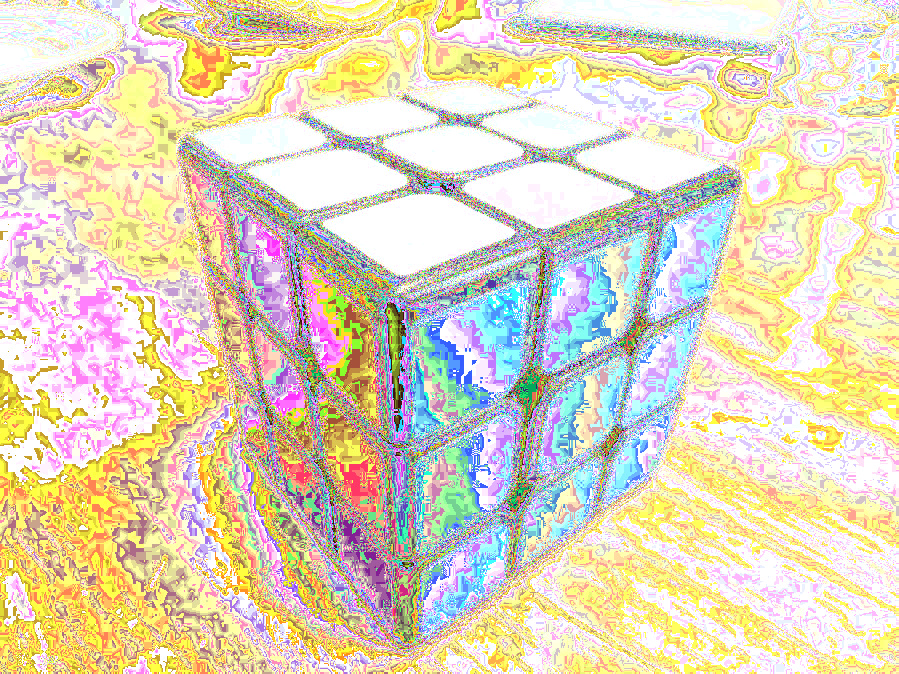
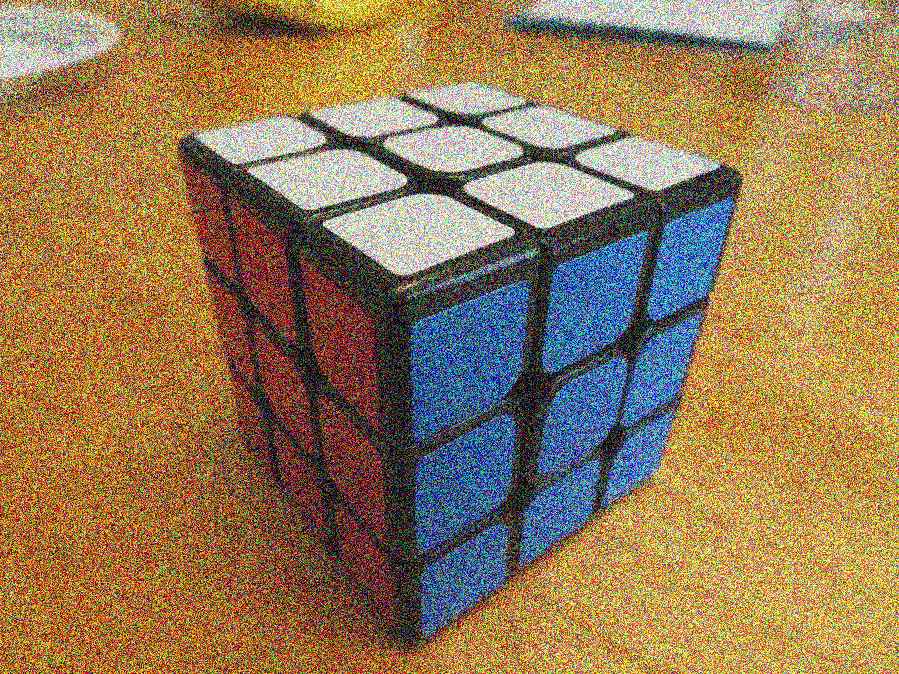
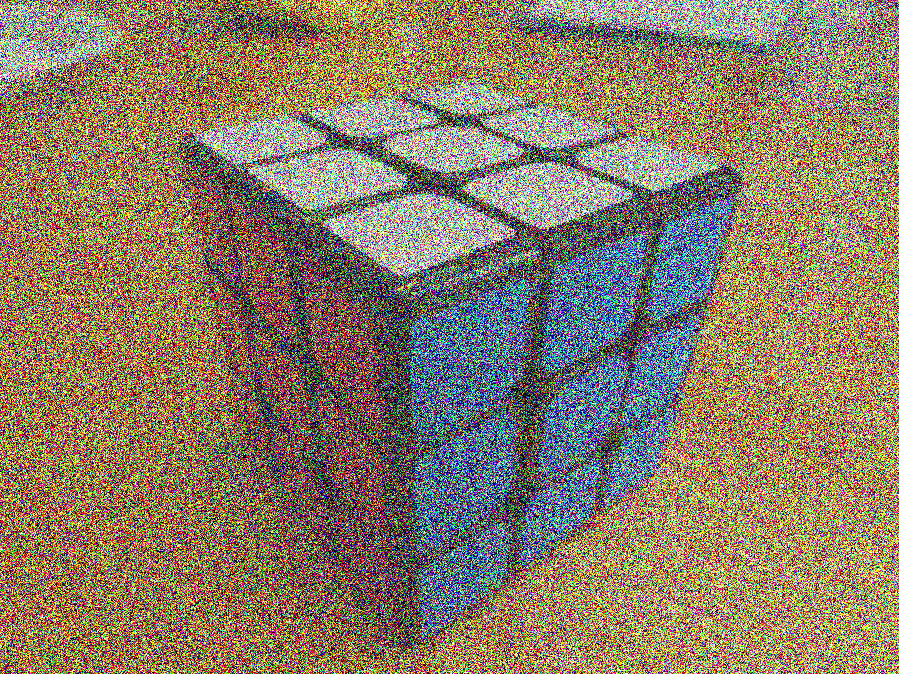
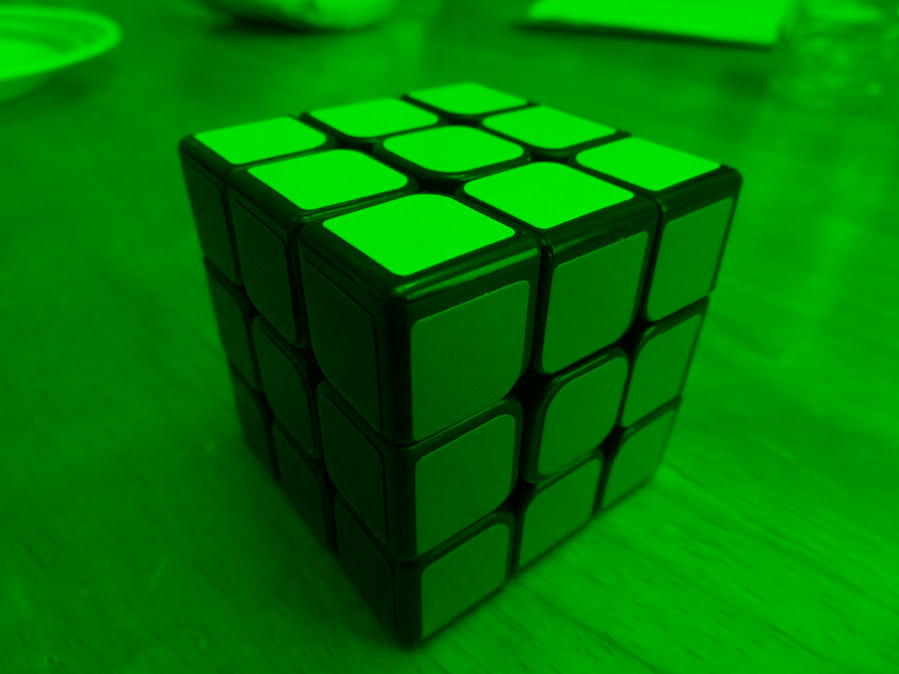
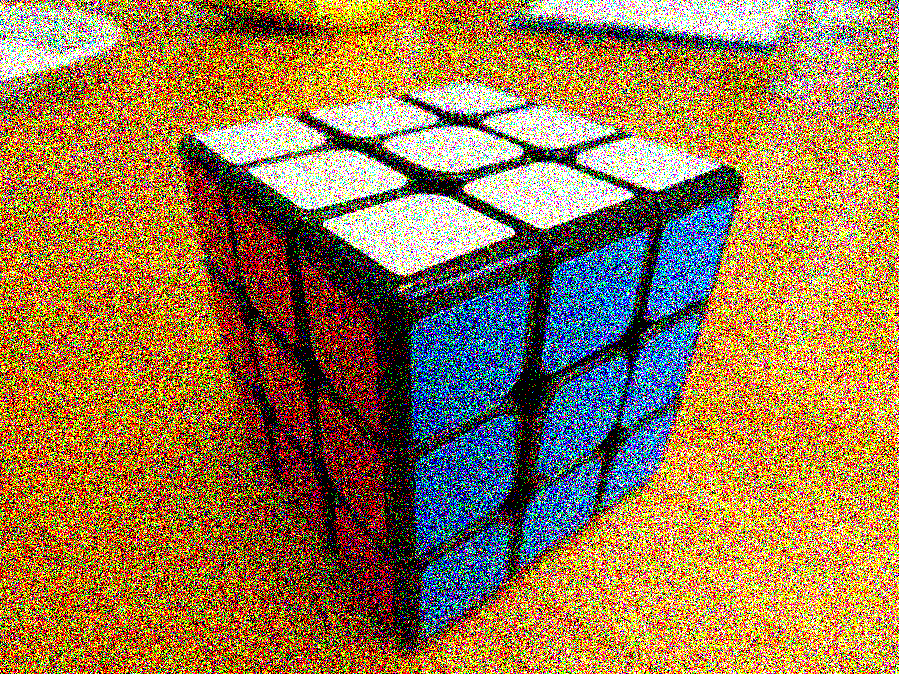
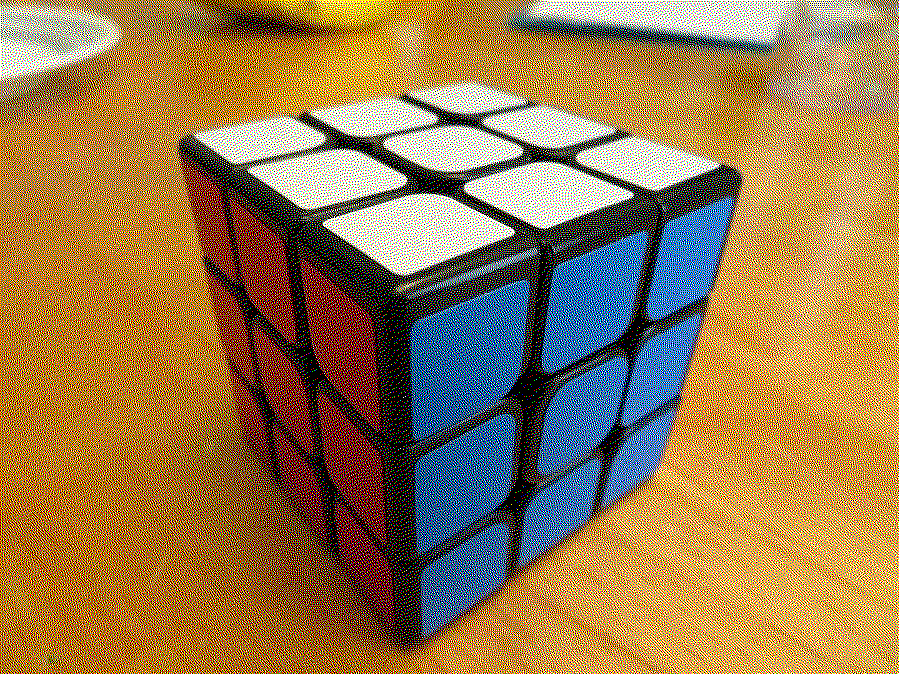
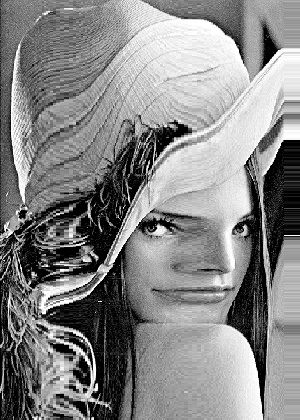
I had a great deal of trouble implementing contrast, as I initially thinking about it completely wrong. I was calculating the average luminance of the whole picture, then calculating the difference between that and each pixel's luminance. I then multiplied that difference by the contrast factor, and added it to the average luminance. I considered green and blue as function of red. I then did some algebraic manipulation to calculate the red value necessary to get the desired luminance, and calculated green and blue from that red. This method produced some very interesting results, shown below.
 |
 |
 |
| 0.1 | 2.0 | 5.0 |
 |
 |
 |
| 1 | 2 | 4 |
I first implemented quantization incorrectly, scaling as if the passed value was the max color value, not the number of bits.
It was a pretty simple adjustment to my math to operate correctly (just calculate maxValue as 2^n - 1).
I didn't realize the function PixelQuant() was given to us after I finished implementing my own quantization. They're functionally
similar but not identical. I switched over to PixelQuant().
 |
 |
 |
| 1 | 2 | 4 |
 |
 |
 |
| 1 | 2 | 4 |
I got some very poor results when I had accidentally flipped the order of subtraction for calculating error, but discovered my mistake quickly.
I had a lot of trouble for an unknown reason when I tried to implement this using a struct I created, PrecisePixel, to increase the accuracy of
dithering. In the end this didn't prove worth it and I reverted to a simpler implementation.
Differences between the dithering levels may not be apparent unless the images are opened at full resolution.
 |
 |
 |
| 2 | 8 | 16 |
I implemented a Gaussian convolution for this, and it's performed separably. The filter is scaled by the number inputted.
 |
 |
 |
| 2 | 8 | 16 |
Implementing sharpening after implementing blur was trivial.
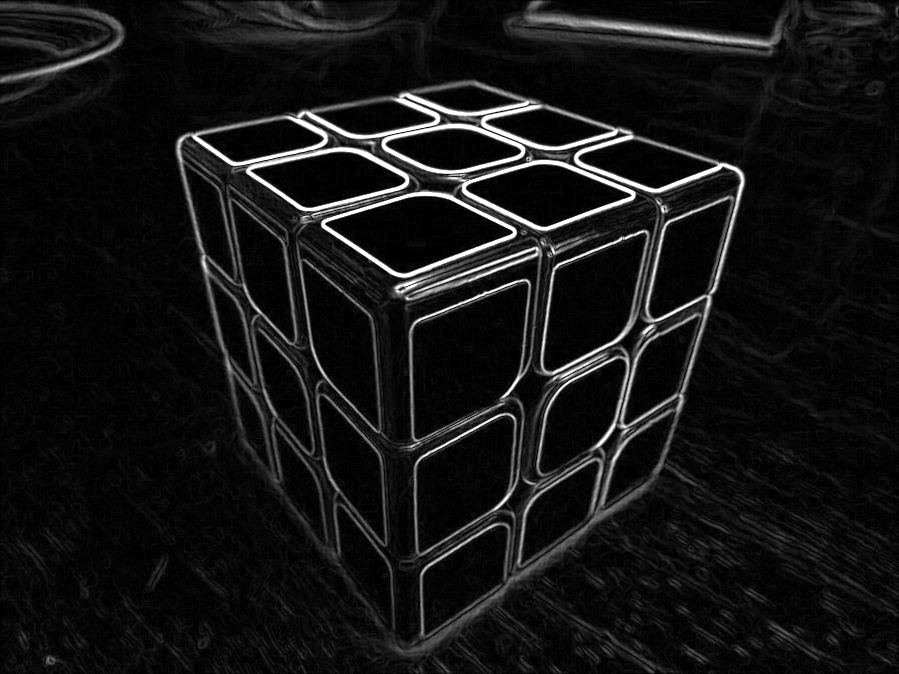
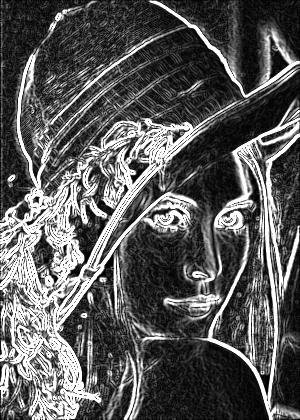
I used a modified sobel filter for my edge detection. I also reduce saturation to 0 before processing, and added 1 level of blur.
My implementation uses the sobel filters plus two complementary filters to detect edges it wouldn't otherwise. (If I remember correctly,
before I added these it only detected bottom and left edges).
I tried numerous other combinations of effects like decreasing brightness and/or
contrast before edge detecting then increasing them afterwards, but I was usually only able to produce better effects for specific images.
A combination of pre/post-processing effects that looked good for one image didn't for another. So I found doing minimal other processing to give
the most generally pleasing result.


 |
 |
 |
| Point (-sampling 0) |
Bilinear Interpolation (-sampling 1) |
Gaussian (-sampling 2) |
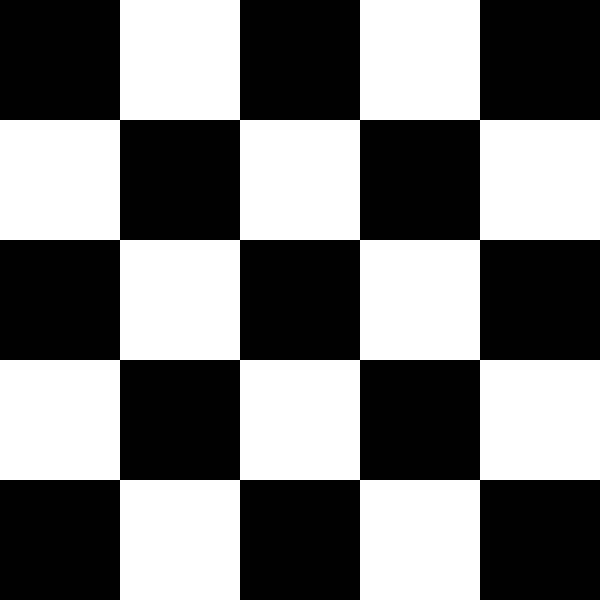
Note that these are all css-scaled to be the same size, though the output images are actually 10 times as big as the input in each direction. The input image is actually only 45x34 pixels. The images can be saved or opened in separate tabs to see this.

 |
 |
 |
| Point (-sampling 0) |
Bilinear Interpolation (-sampling 1) |
Gaussian (-sampling 2) |
These illustrate the special case of reducing size by a power of two for point sampling and bilinear sampling.
Note that the input image when viewed separately is in fact a perfect checkerboard, alternating black/white each pixel.
 |
 |
 |
| 45 | 270 | 353 |
I had a lot of trouble with off-by-one style errors near the edges when rotating by a factor of 90 deg. I had to do a bit of a hack to fix it.
The image grows to accomodate the rotation, background is set to trasparent black (which renders white on the website).
 |
 |
 |
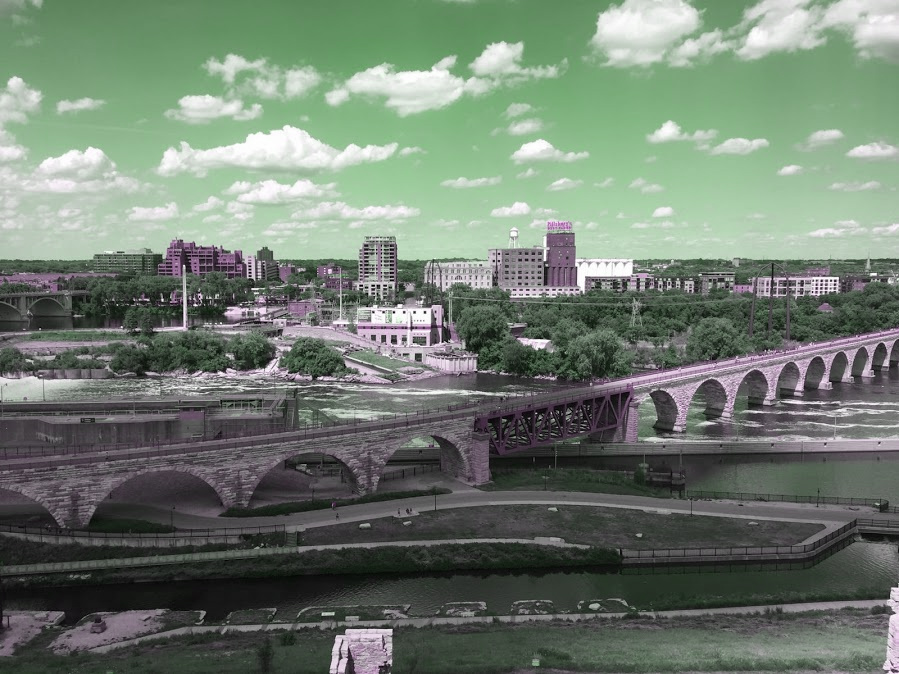 |
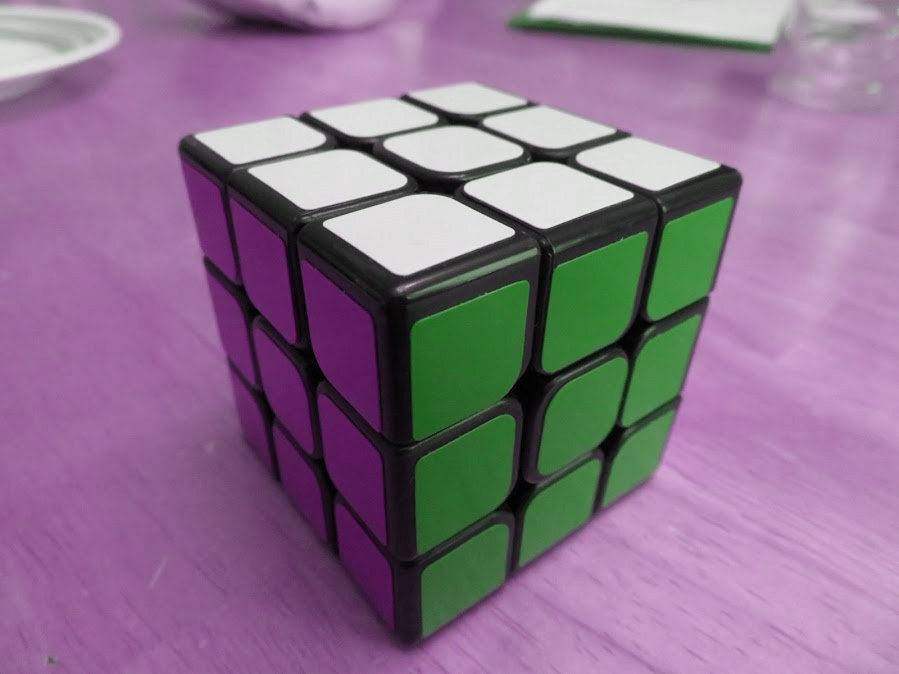
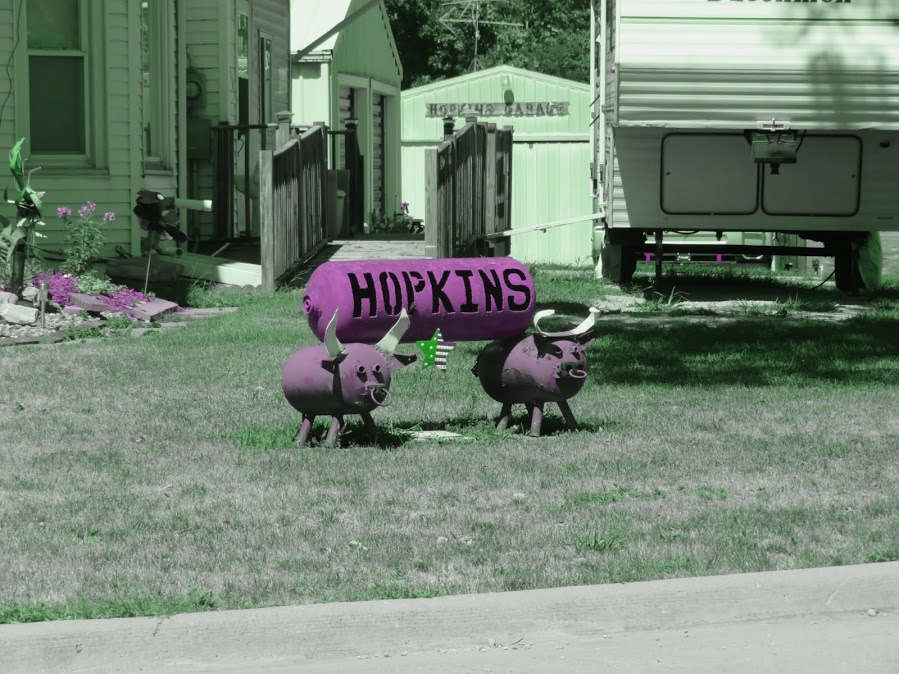
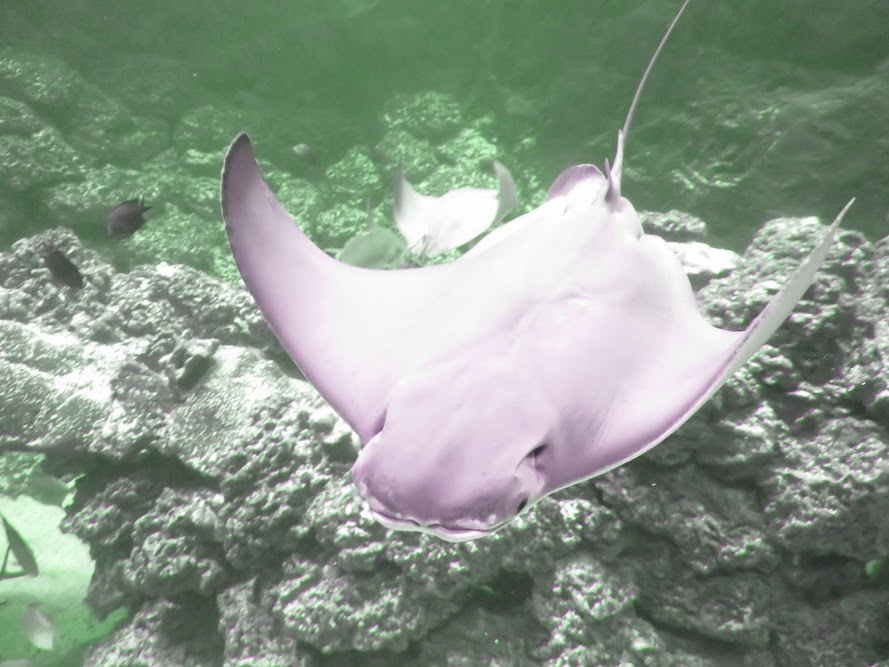
|
These were some fun mistake outputs while I was working on contrast. It was basically reinterpreting the image in terms of the luminance function, with some interpolation. The code is at the bottom of image.cpp in a method called "Purplify".